
Creating a Custom Vivarium Background with Polyurethane Spray Foam
Polyurethane spray foam backgrounds get a lot of hate from some folks, and I completely get it. It doesn’t last long, it’s messy, and it can peel over time. A lot of people are now using cork insulation tiles and other methods that tend to last longer, but I believe there’s still a place for these backgrounds. There are a few things you can do to make these foam backgrounds last longer.
Supplies:
An empty and clean enclosure (duh!)
Black polyurethane spray foam (Great Stuff Pond & Stone)
Aquarium safe silicone
Caulk gun
Egg crate
Razor blade
Disposable gloves (using silicone and spray foam is messy!)
Driftwood, cork bark flats and tubes, etc.
Sphagnum and/or peat moss
Snap blade or box cutter
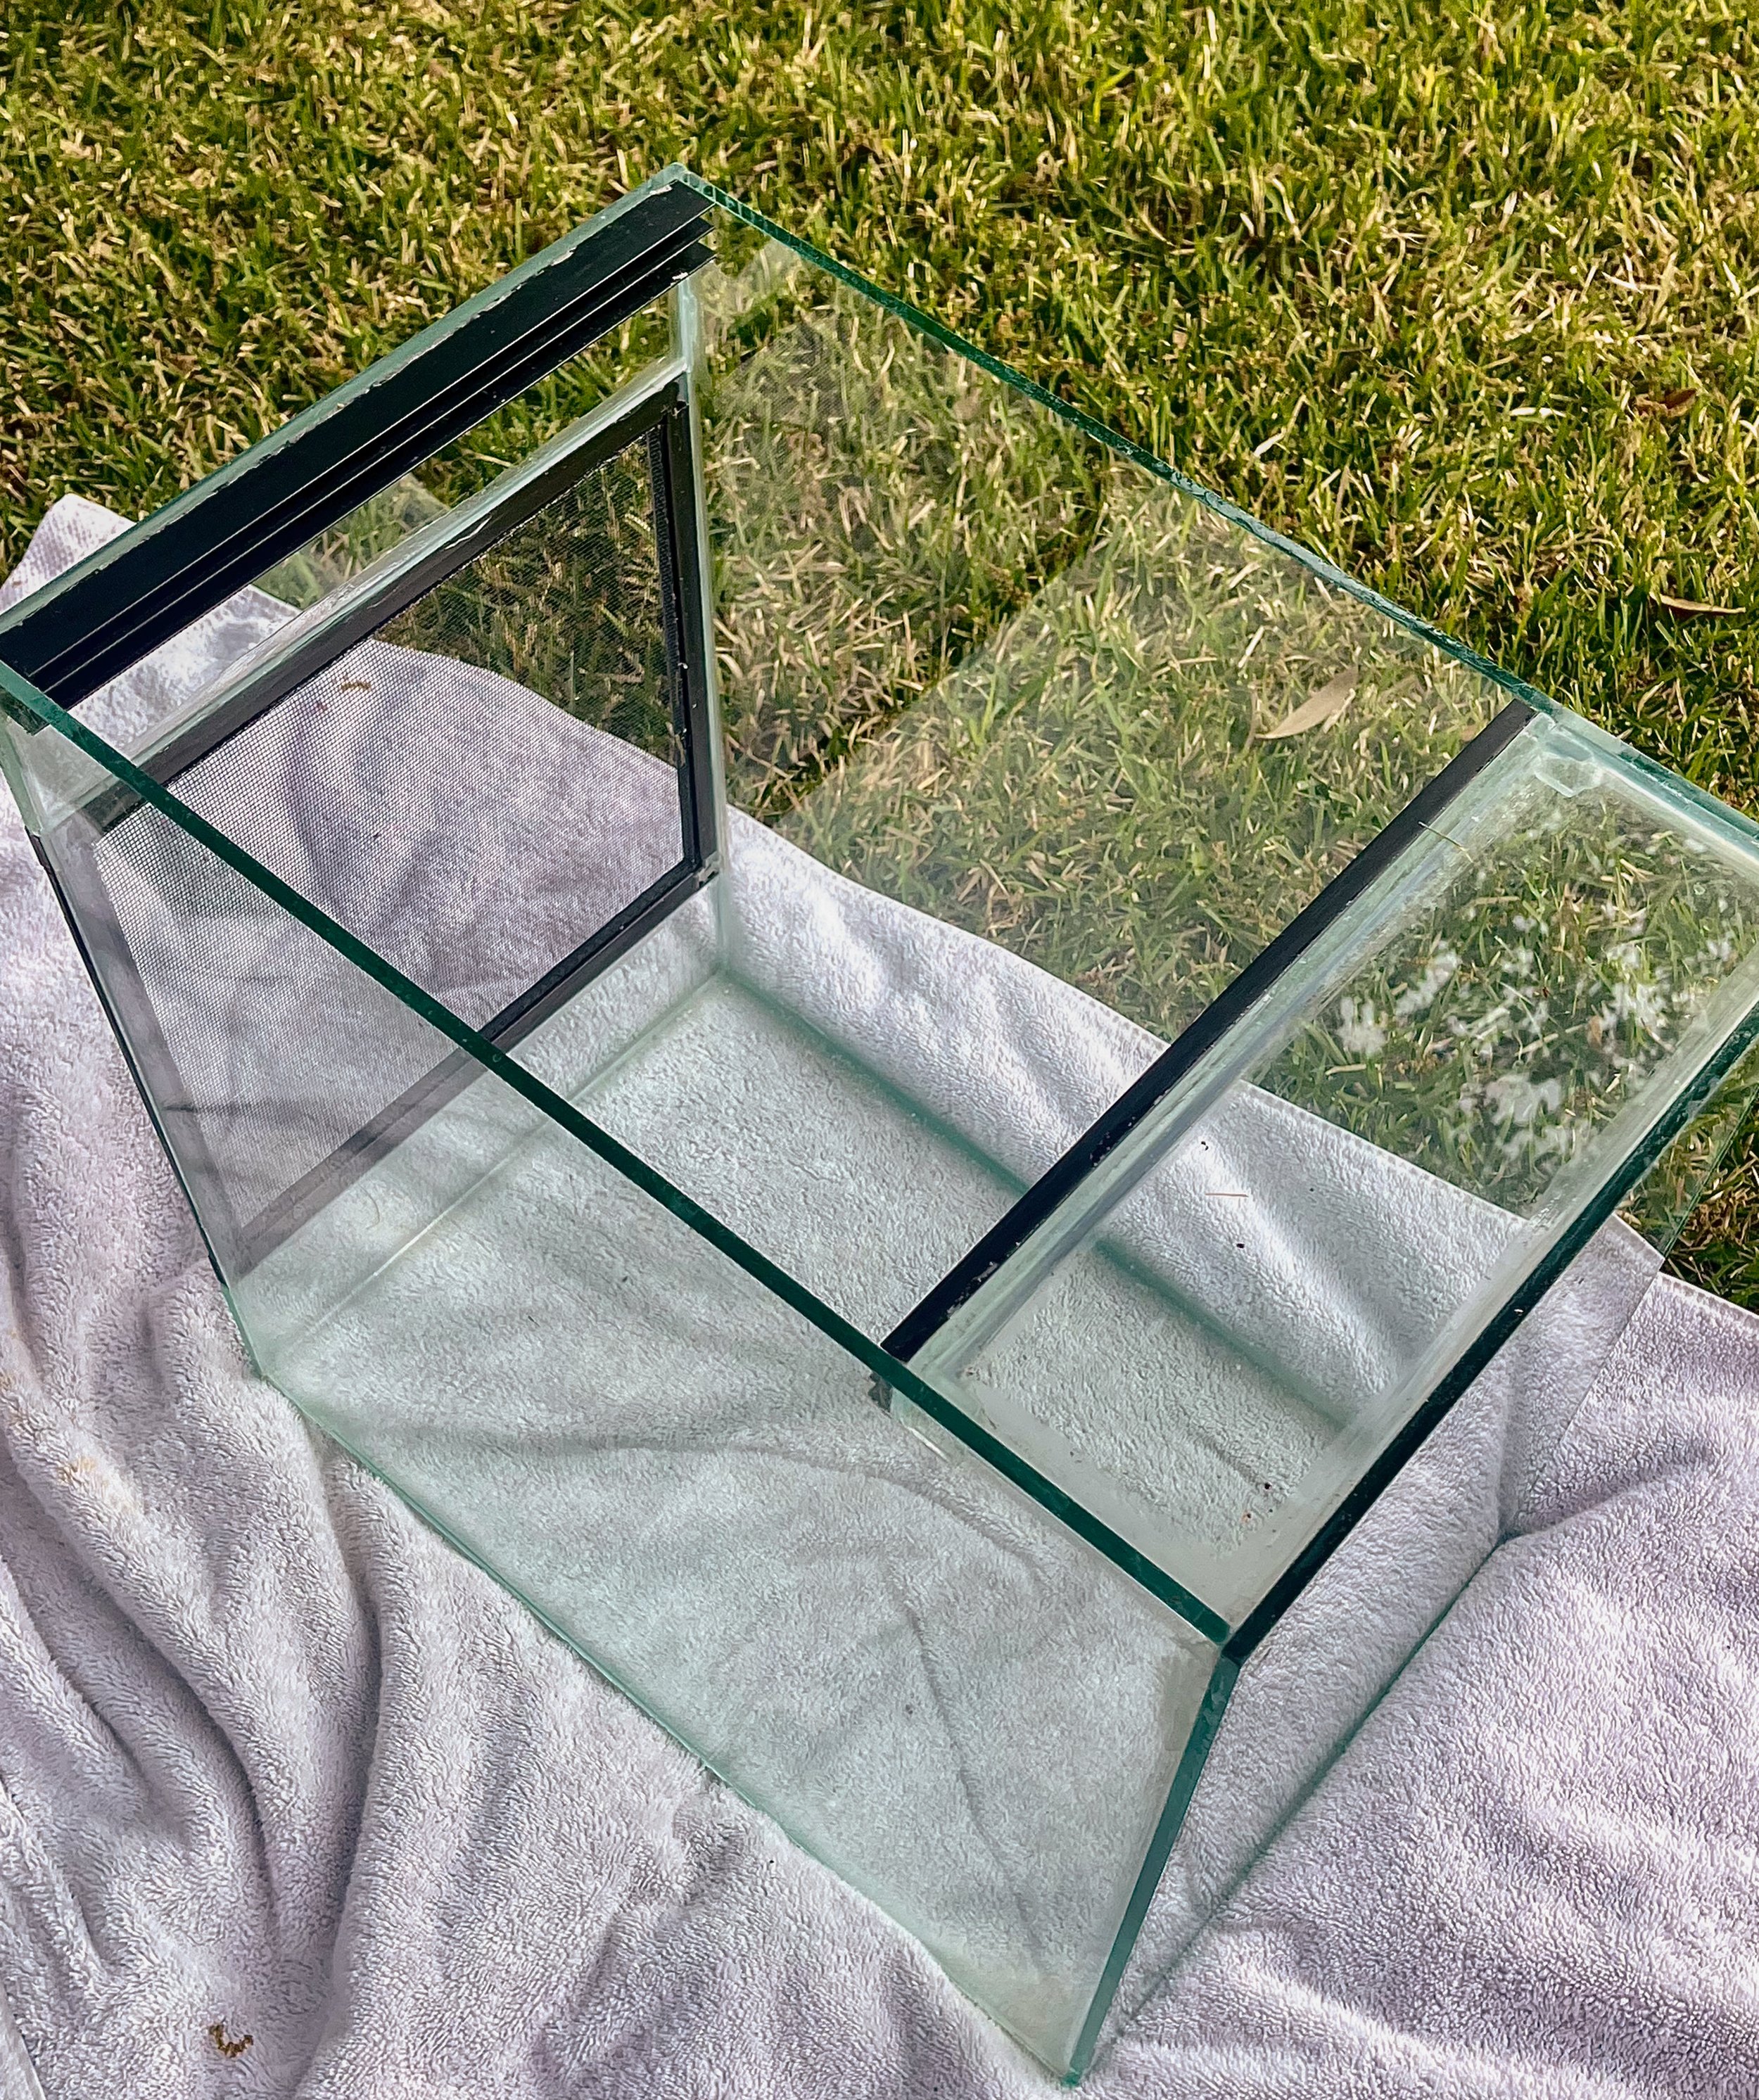
Prepping the enclosure for the background is pretty straightforward. Clean the enclosure with soap and water. Make sure that you thoroughly clean off all of the soap. Most of the time I just use water and a sponge or something similar, especially if it’s a new enclosure. Used enclosures require a little more elbow grease. Old hard water stains can be removed with a diluted solution of white vinegar. That usually takes care of most of the stubborn stains. A razor blade can be used to remove hard stains. Place the enclosure on its back
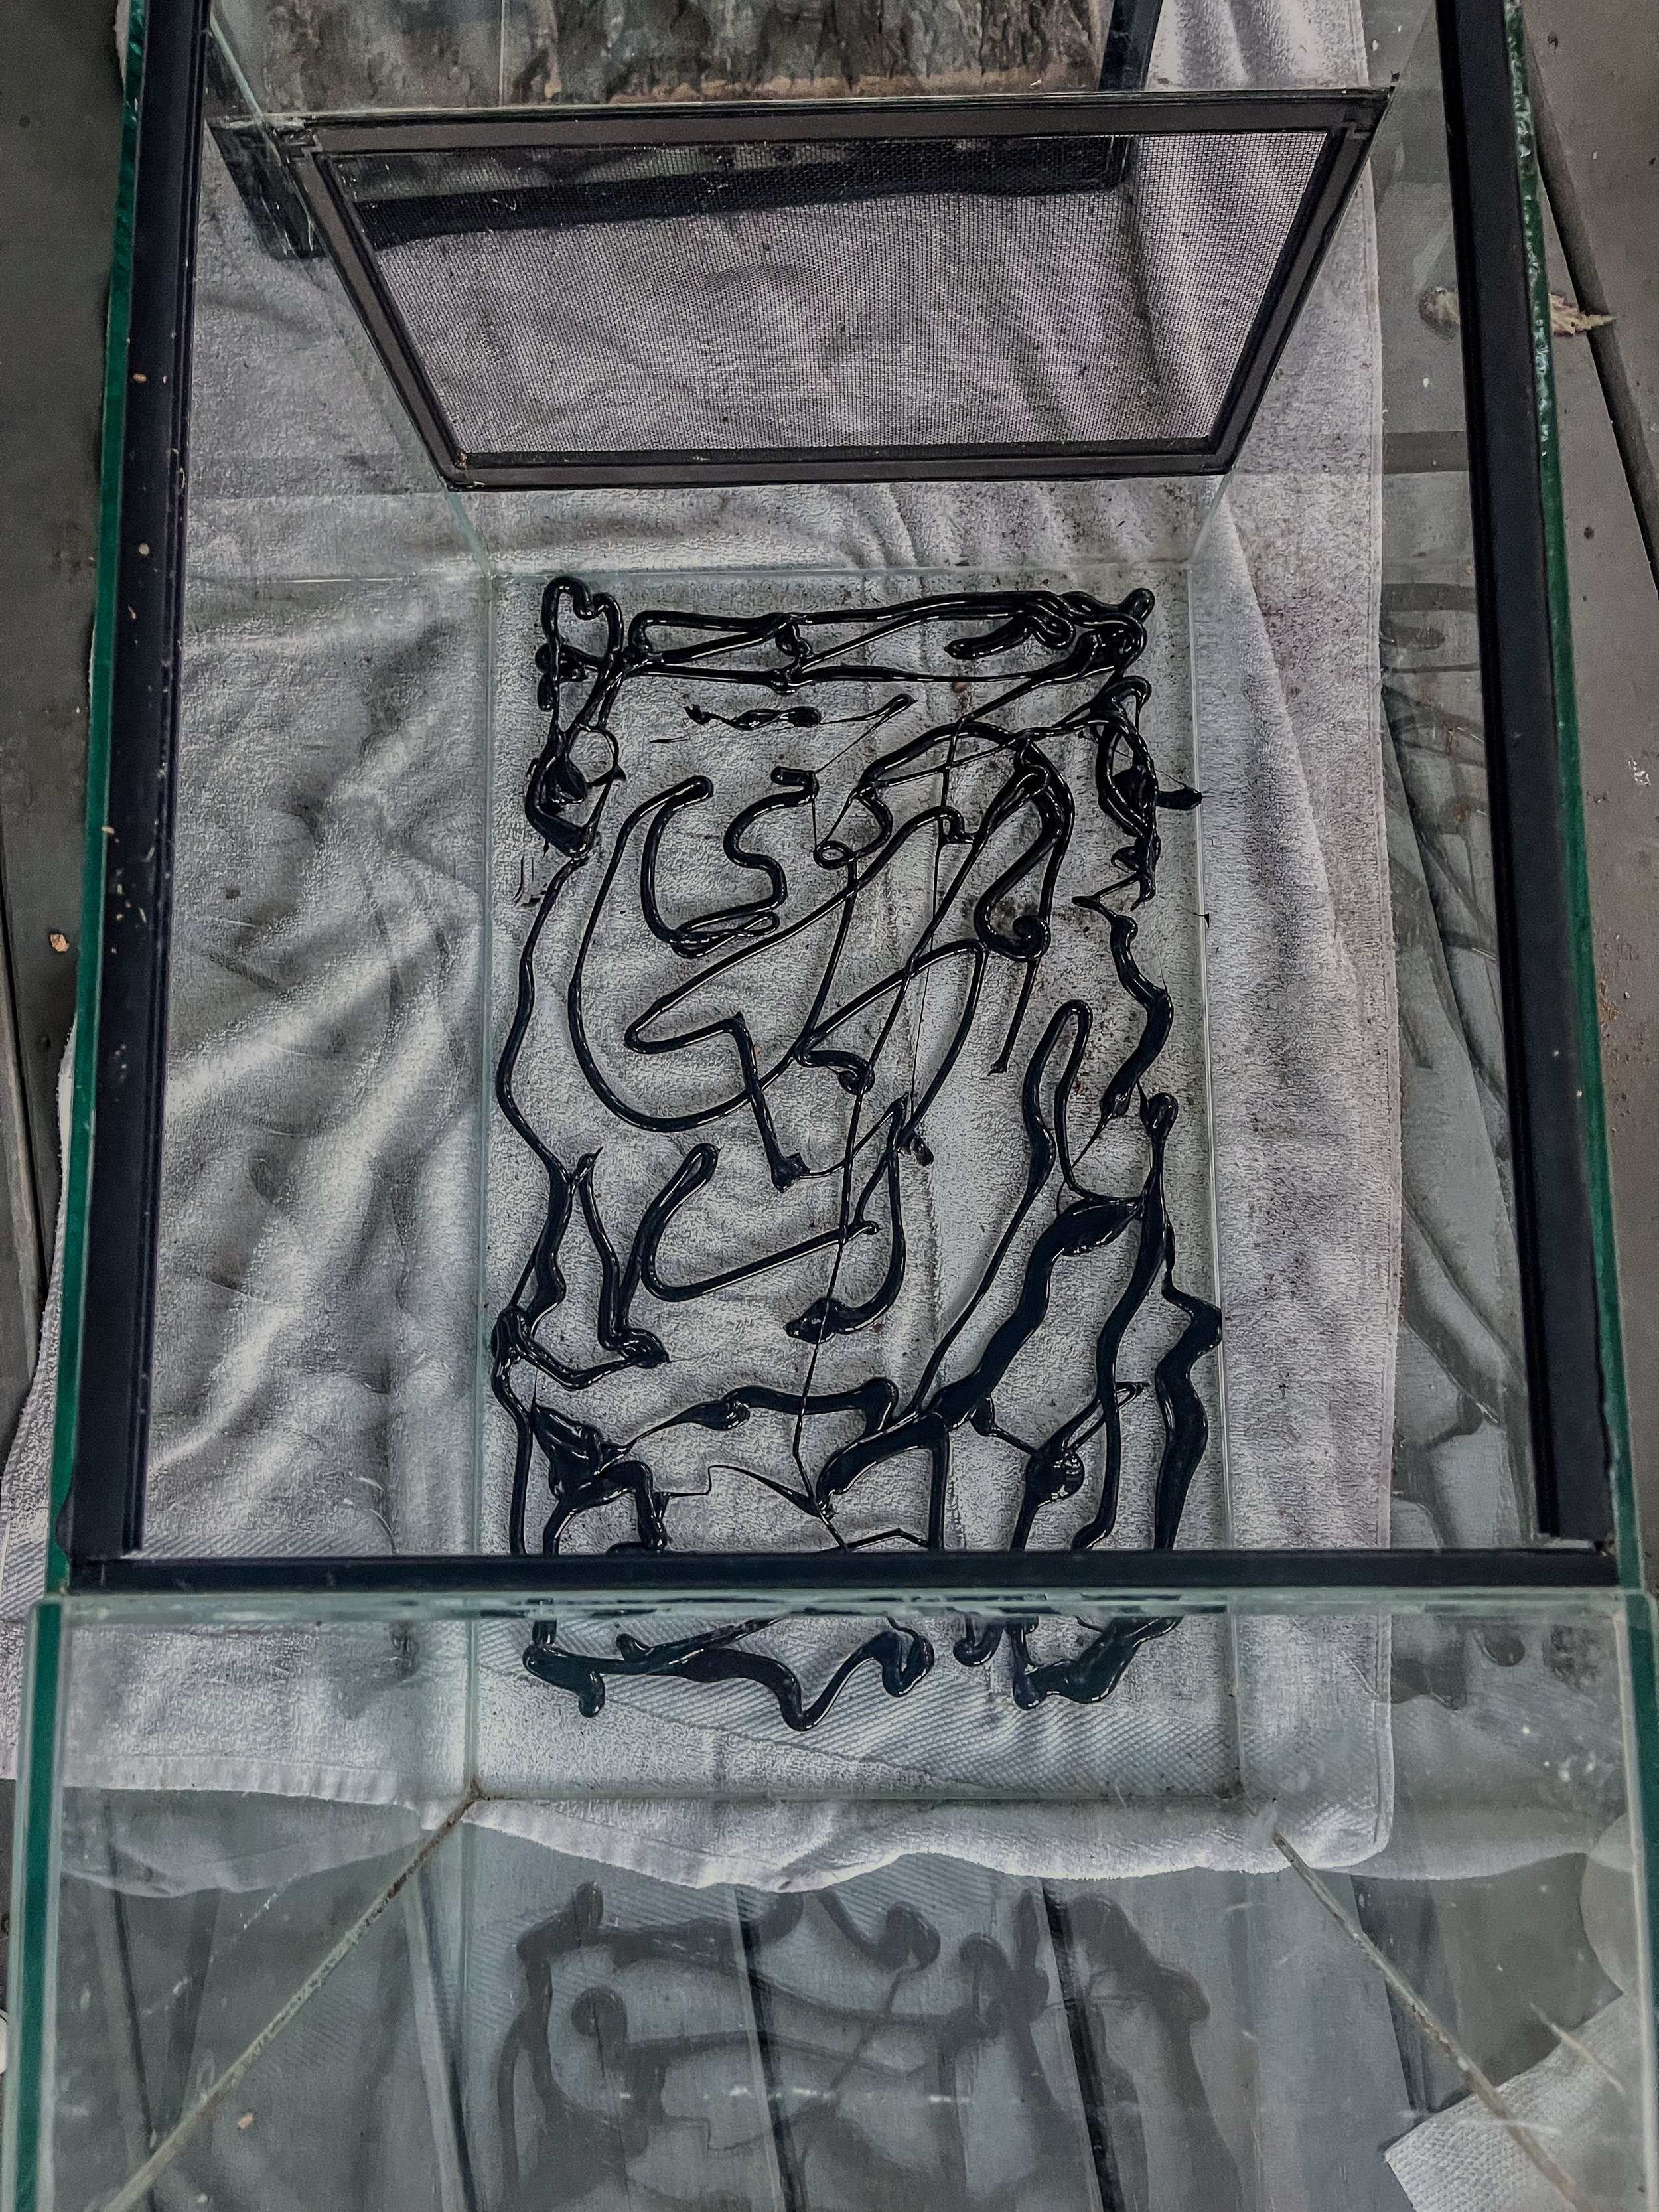
Put on a disposable glove because it’s about to get dirty! Squeeze a generous amount of clear or black aquarium safe silicone on the background in the area where the background will be. There’s no need to put any silicone on the bottom of the back glass since that’s where the drainage layer is. Use the gloved hand to spread the silicone somewhat evenly where the spray foam will be. Let that dry overnight before the next step. Side note, for even more area for the spray foam to adhere to, you can put egg crate on the silicone and let dry overnight.
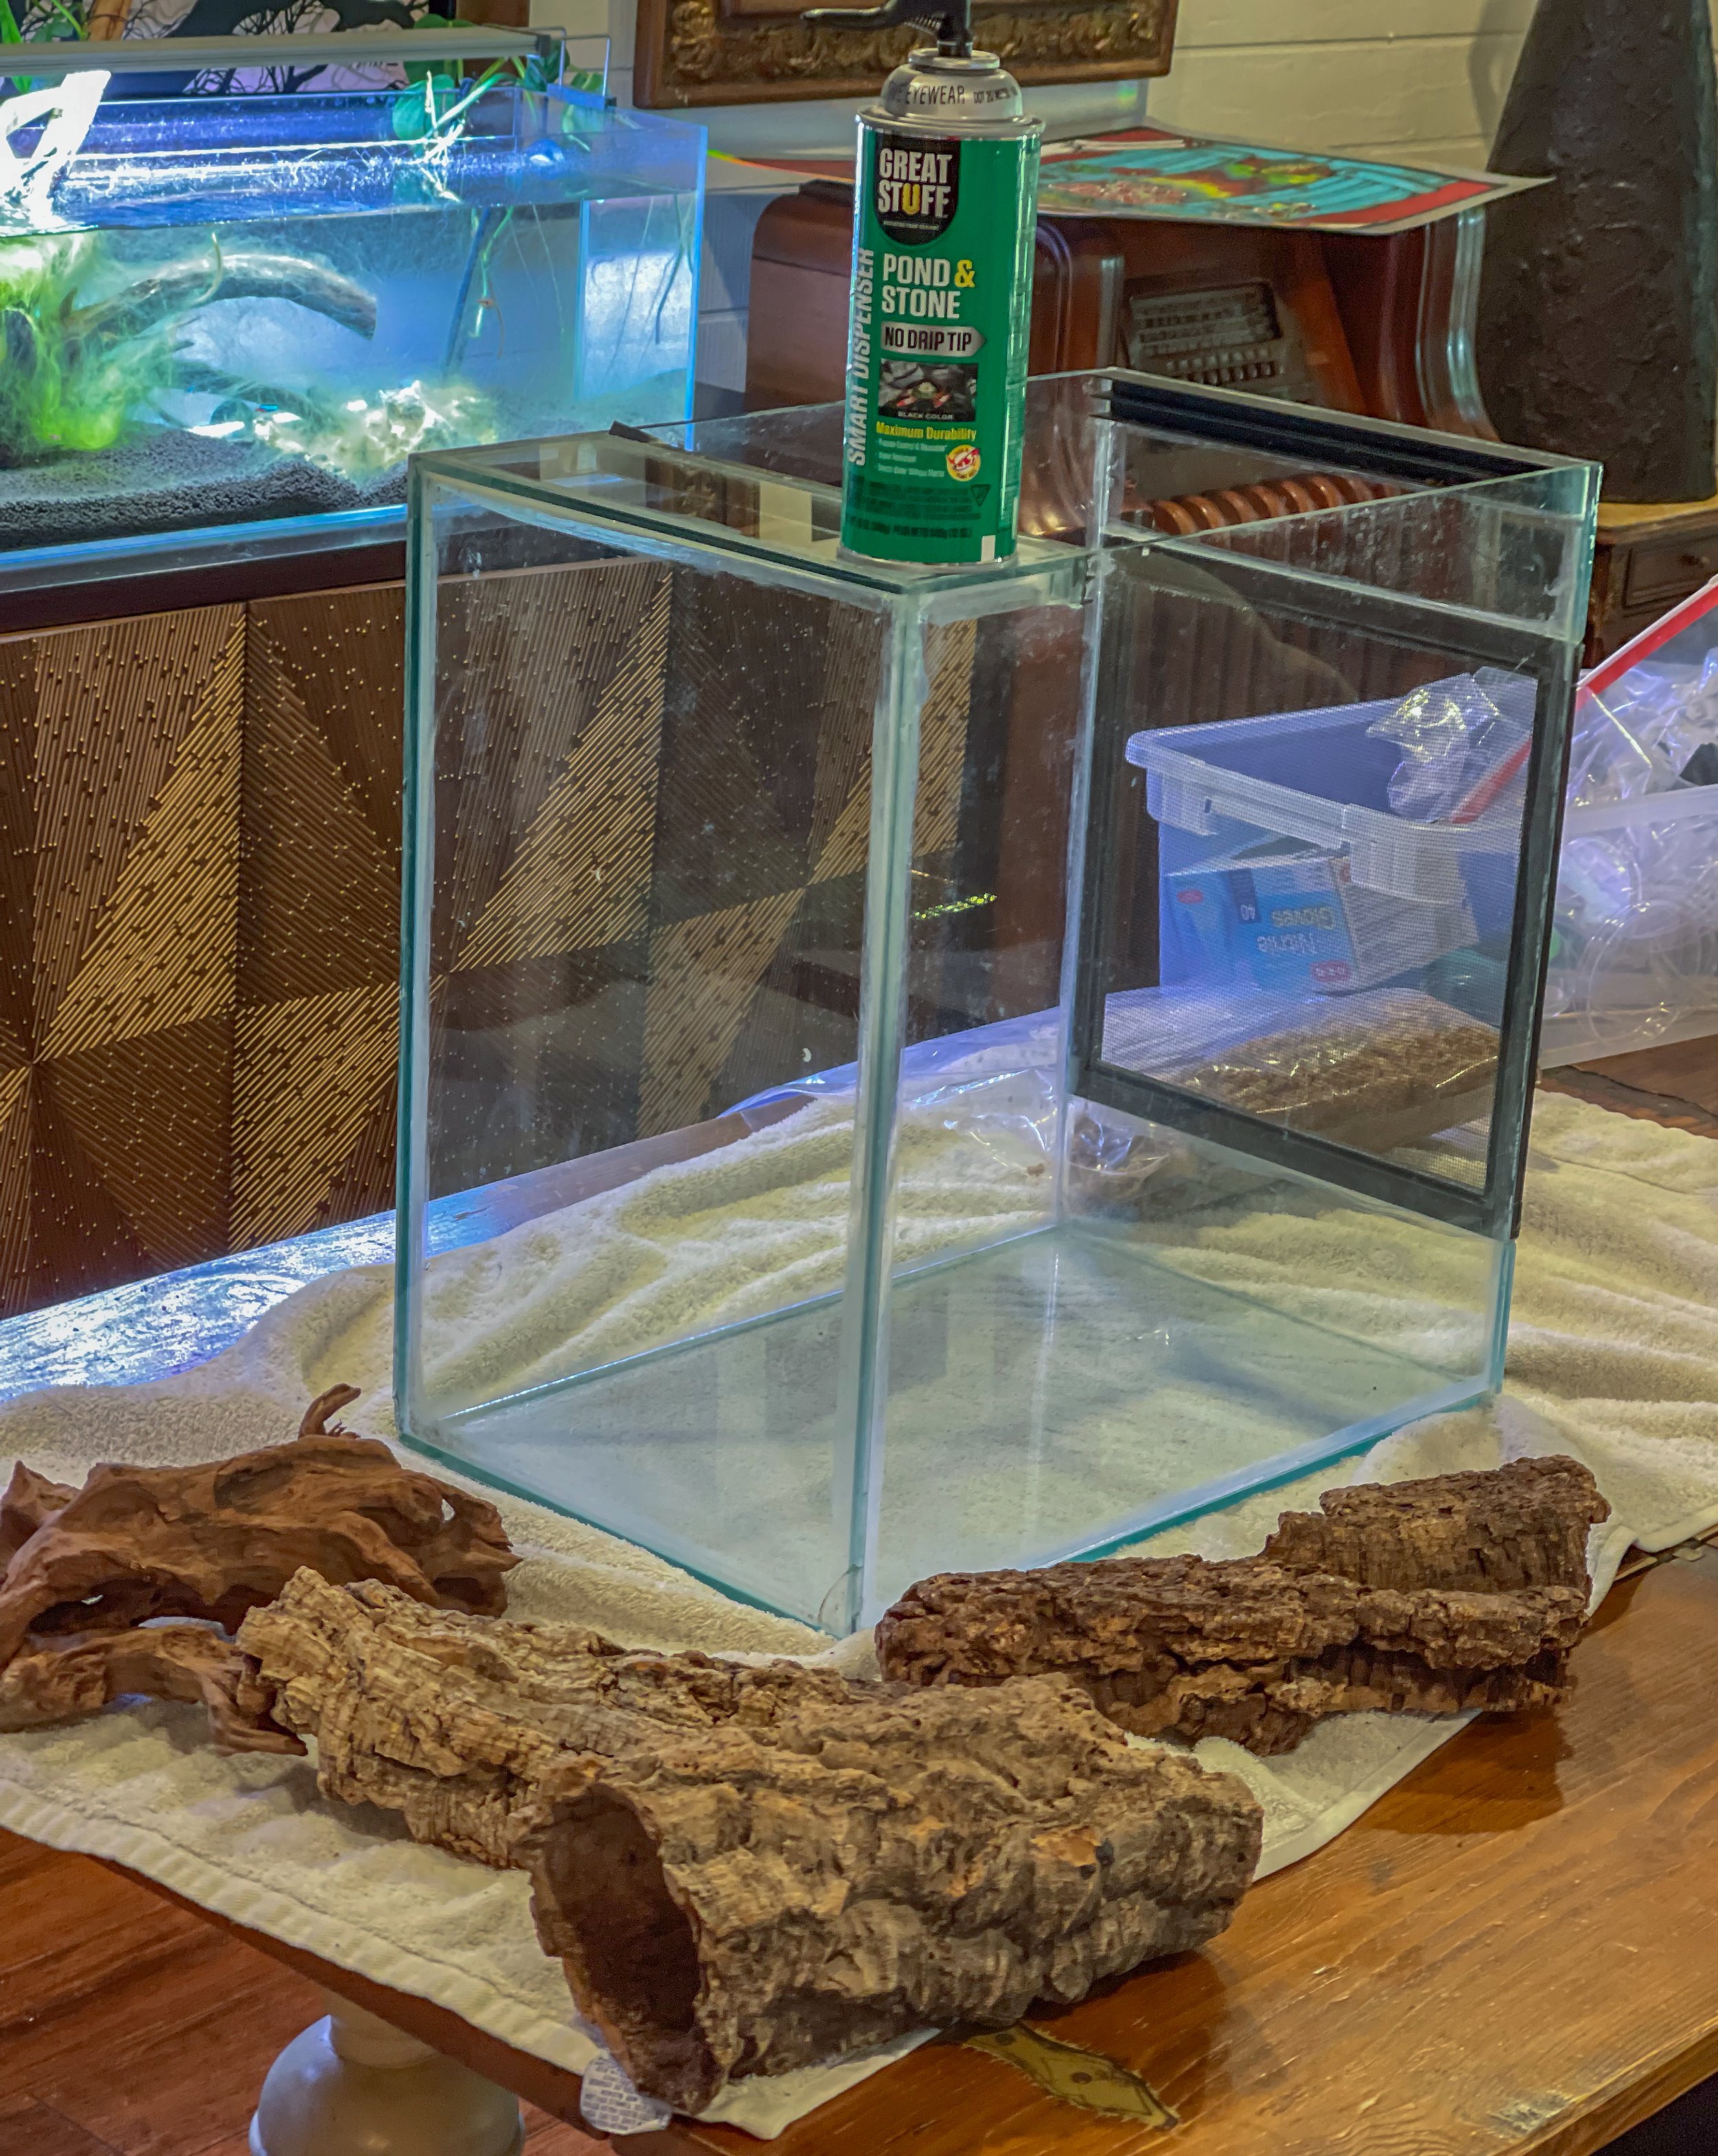
Before using the spray foam, place your hardscape in the configuration you want on the background to see what is the most aesthetically pleasing way. Remove the wood pieces and vacuum or wipe out any dirt and debris from the hardscape placement. Now it’s time for the foam.

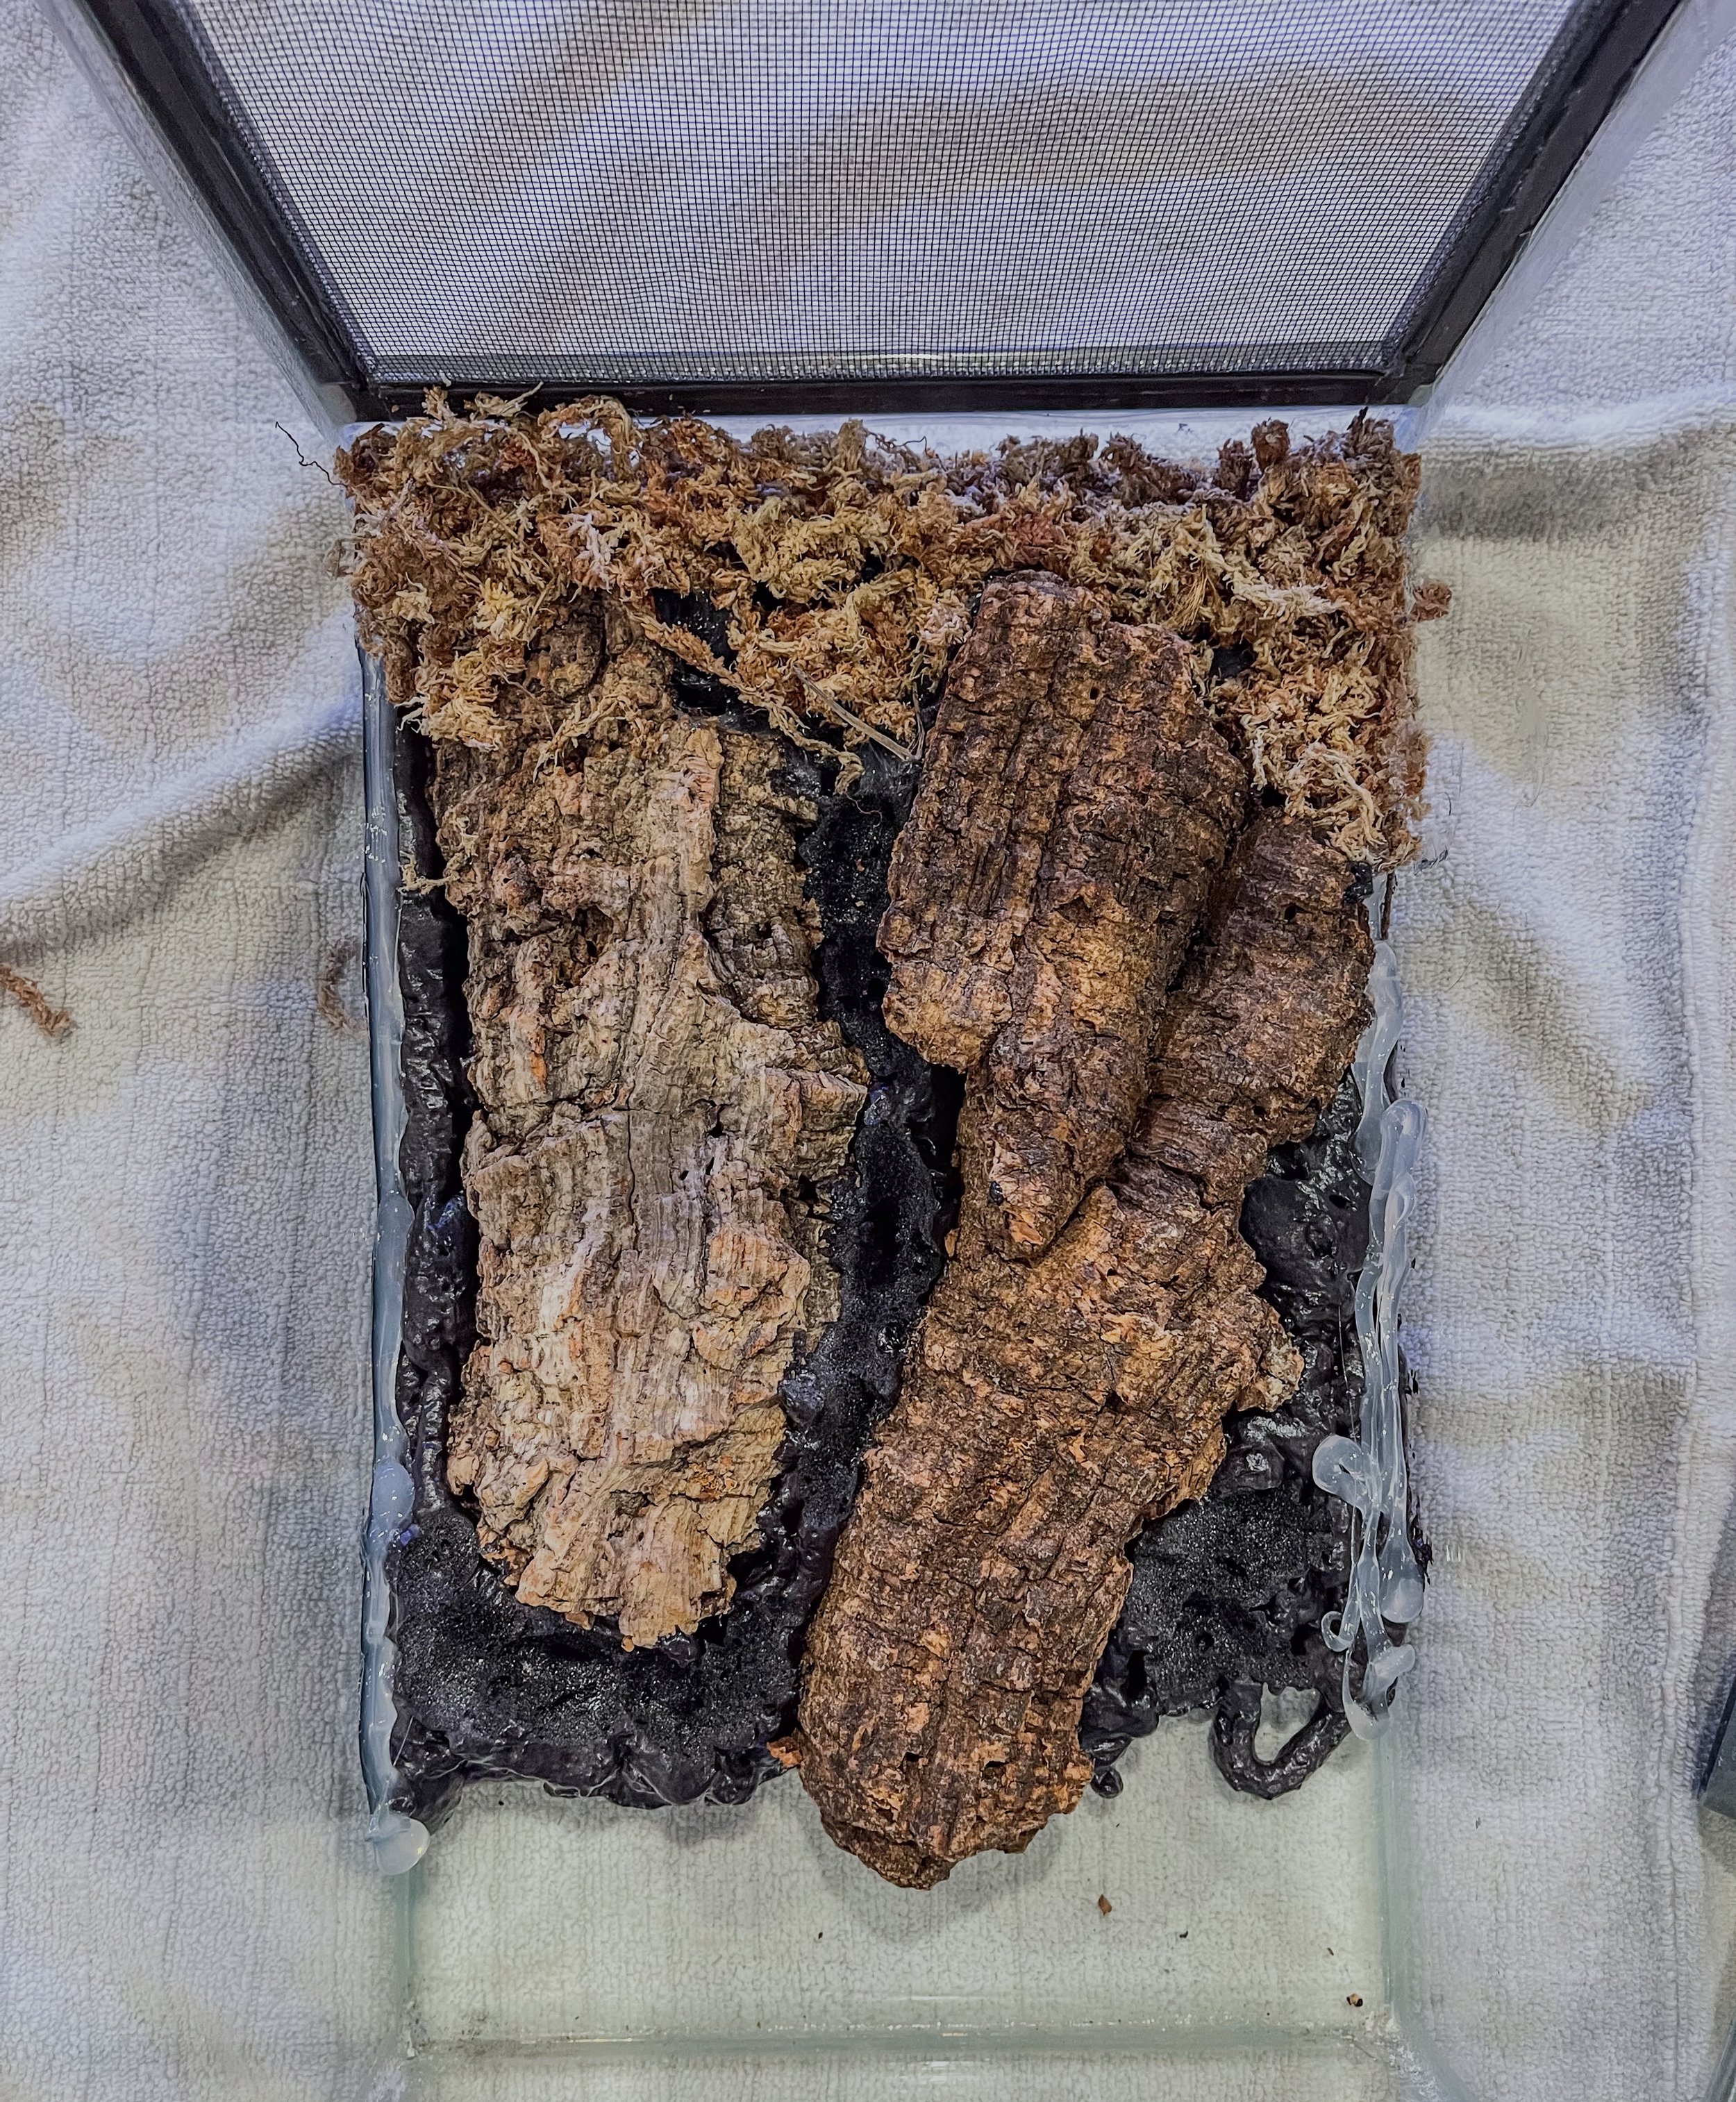
Read the spray foam instructions before use. Glove up, and start spraying the foam on the background. First, outline the area you’re planning to cover with foam, then spray the foam on the background. I typically do a circular pattern when spraying. Cover the background (except the area where there will be the drainage layer and soil or whatever is used). Immediately press the wood pieces into the foam, and spray around the edges and contact points with more foam. This will help anchor the hardscape in place. After several hours to about a day, the foam will be cured, and now you can carve the foam down to the desired look you want.
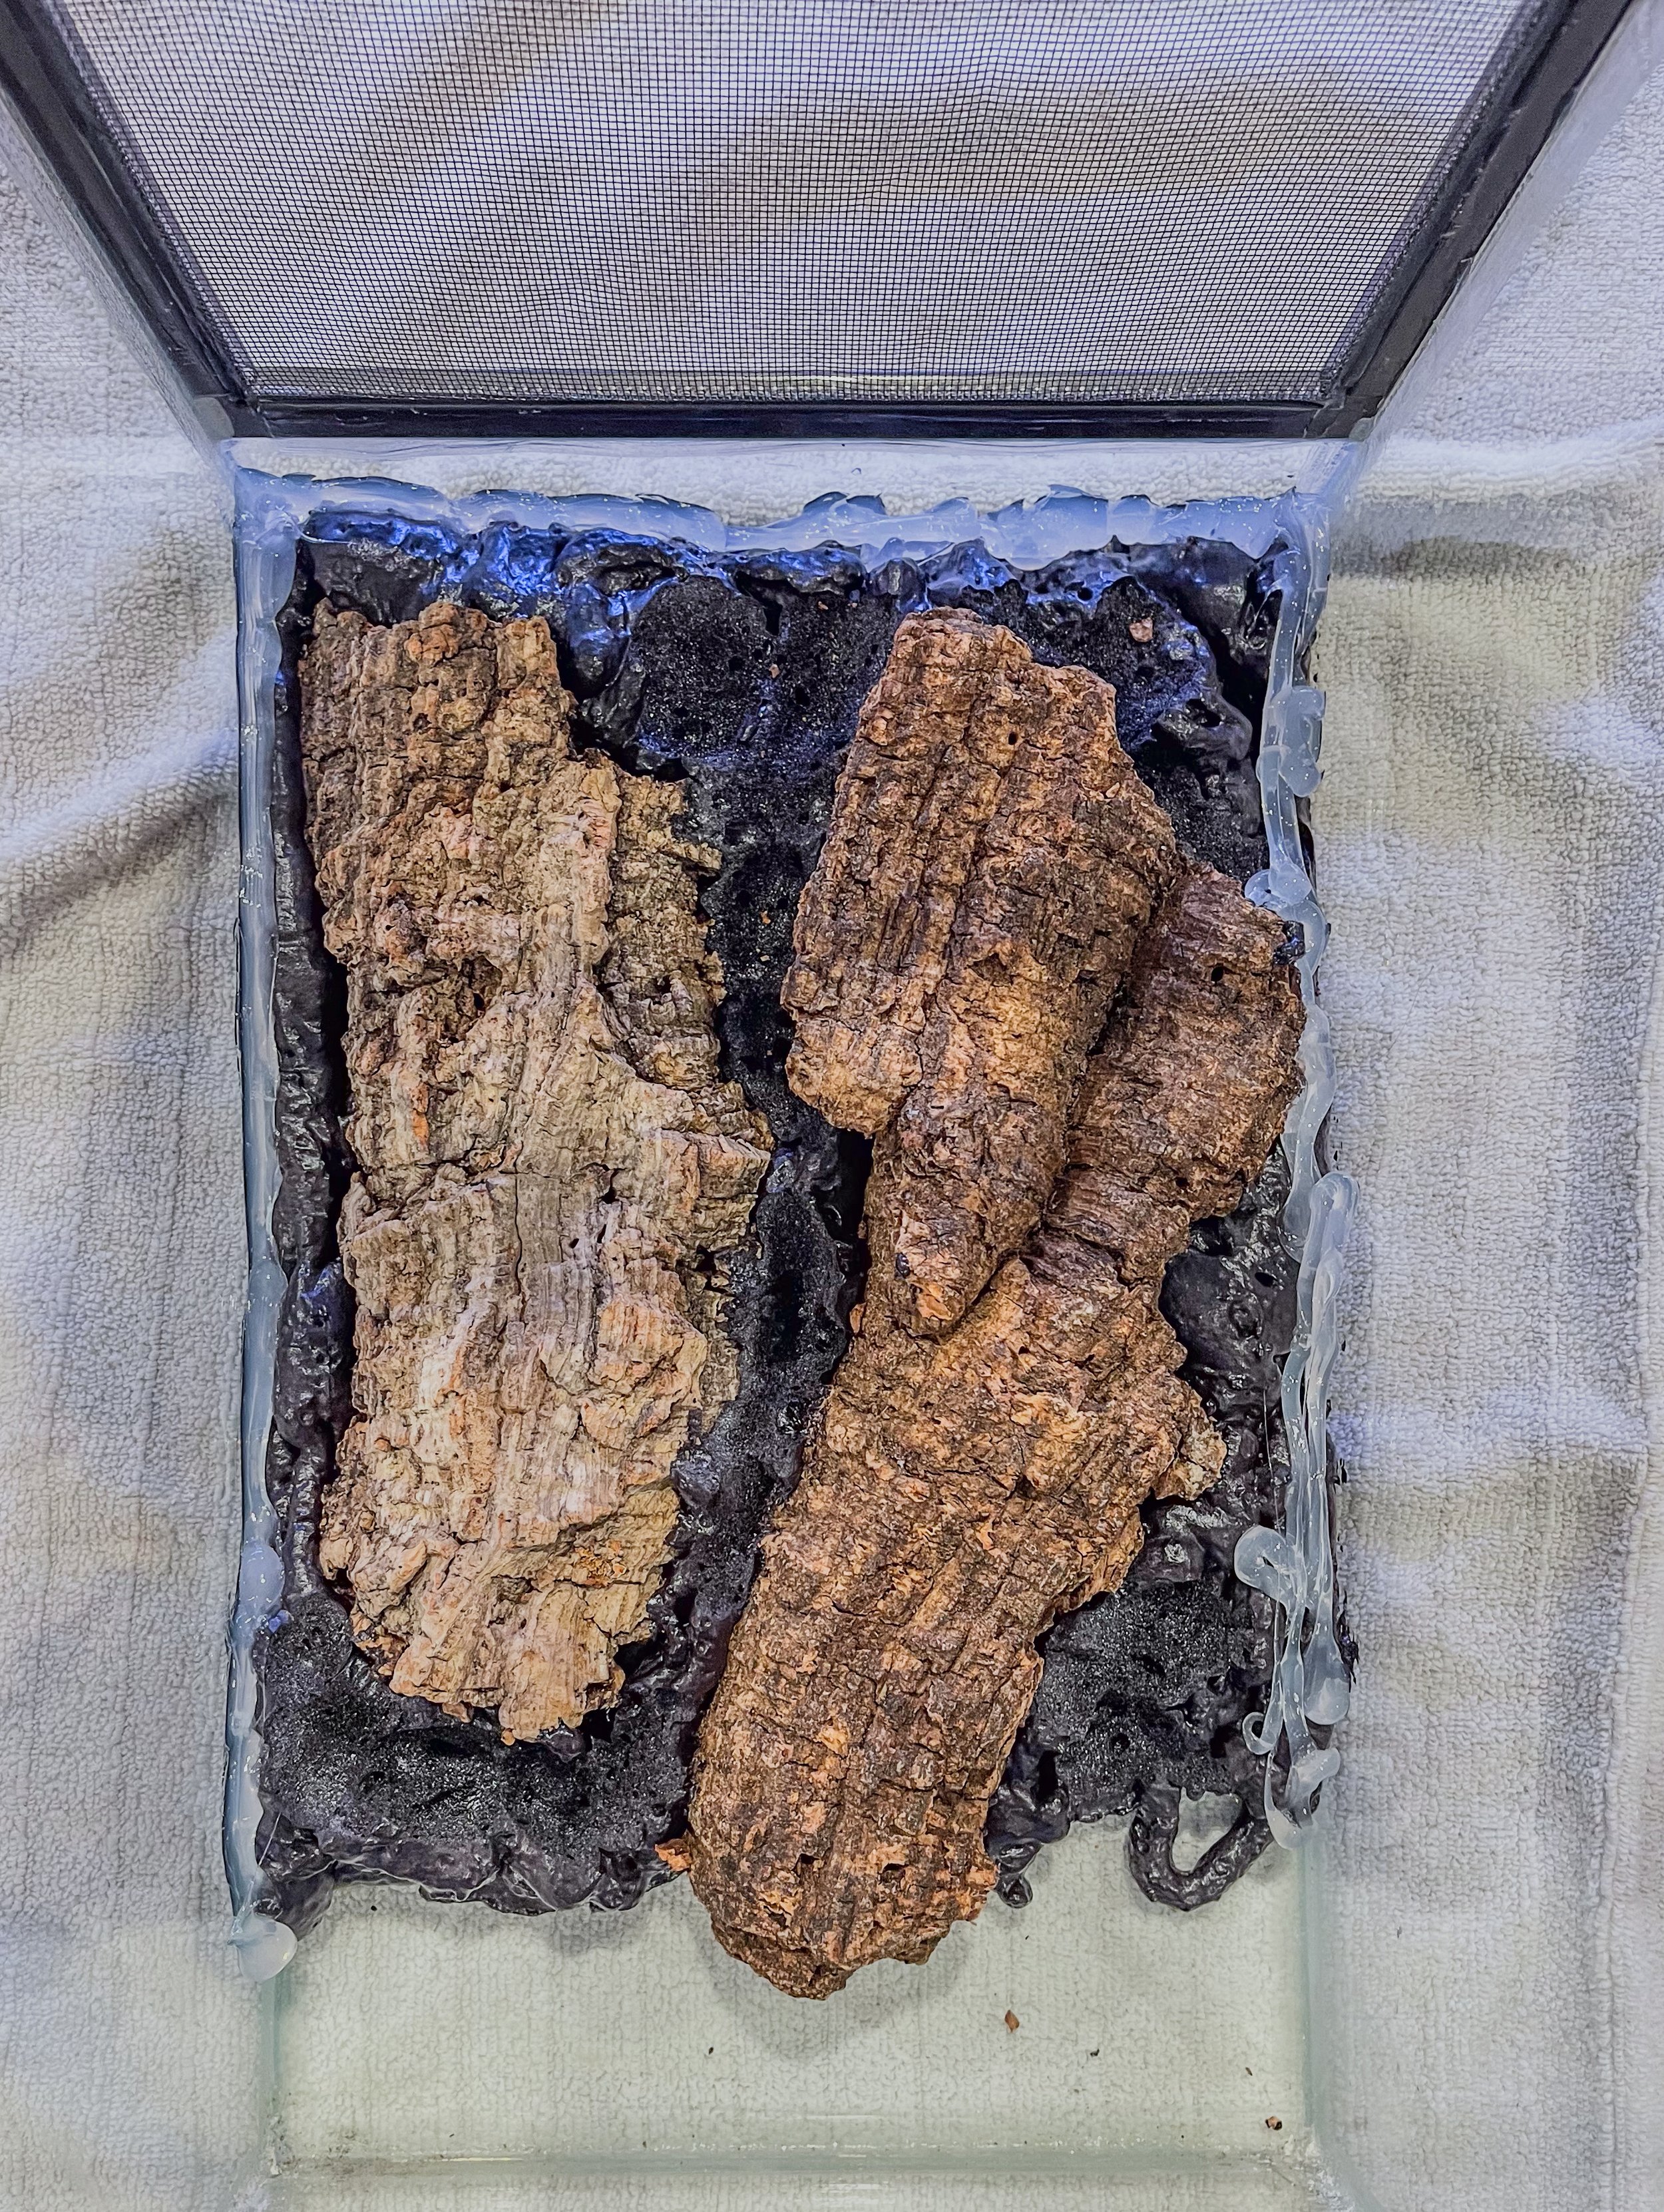
Once you’ve carved the foam, use a caulk gun with aquarium safe silicone to line the perimeter of the background to help keep it from separating from the glass. It can still separate over time, but this works pretty well.
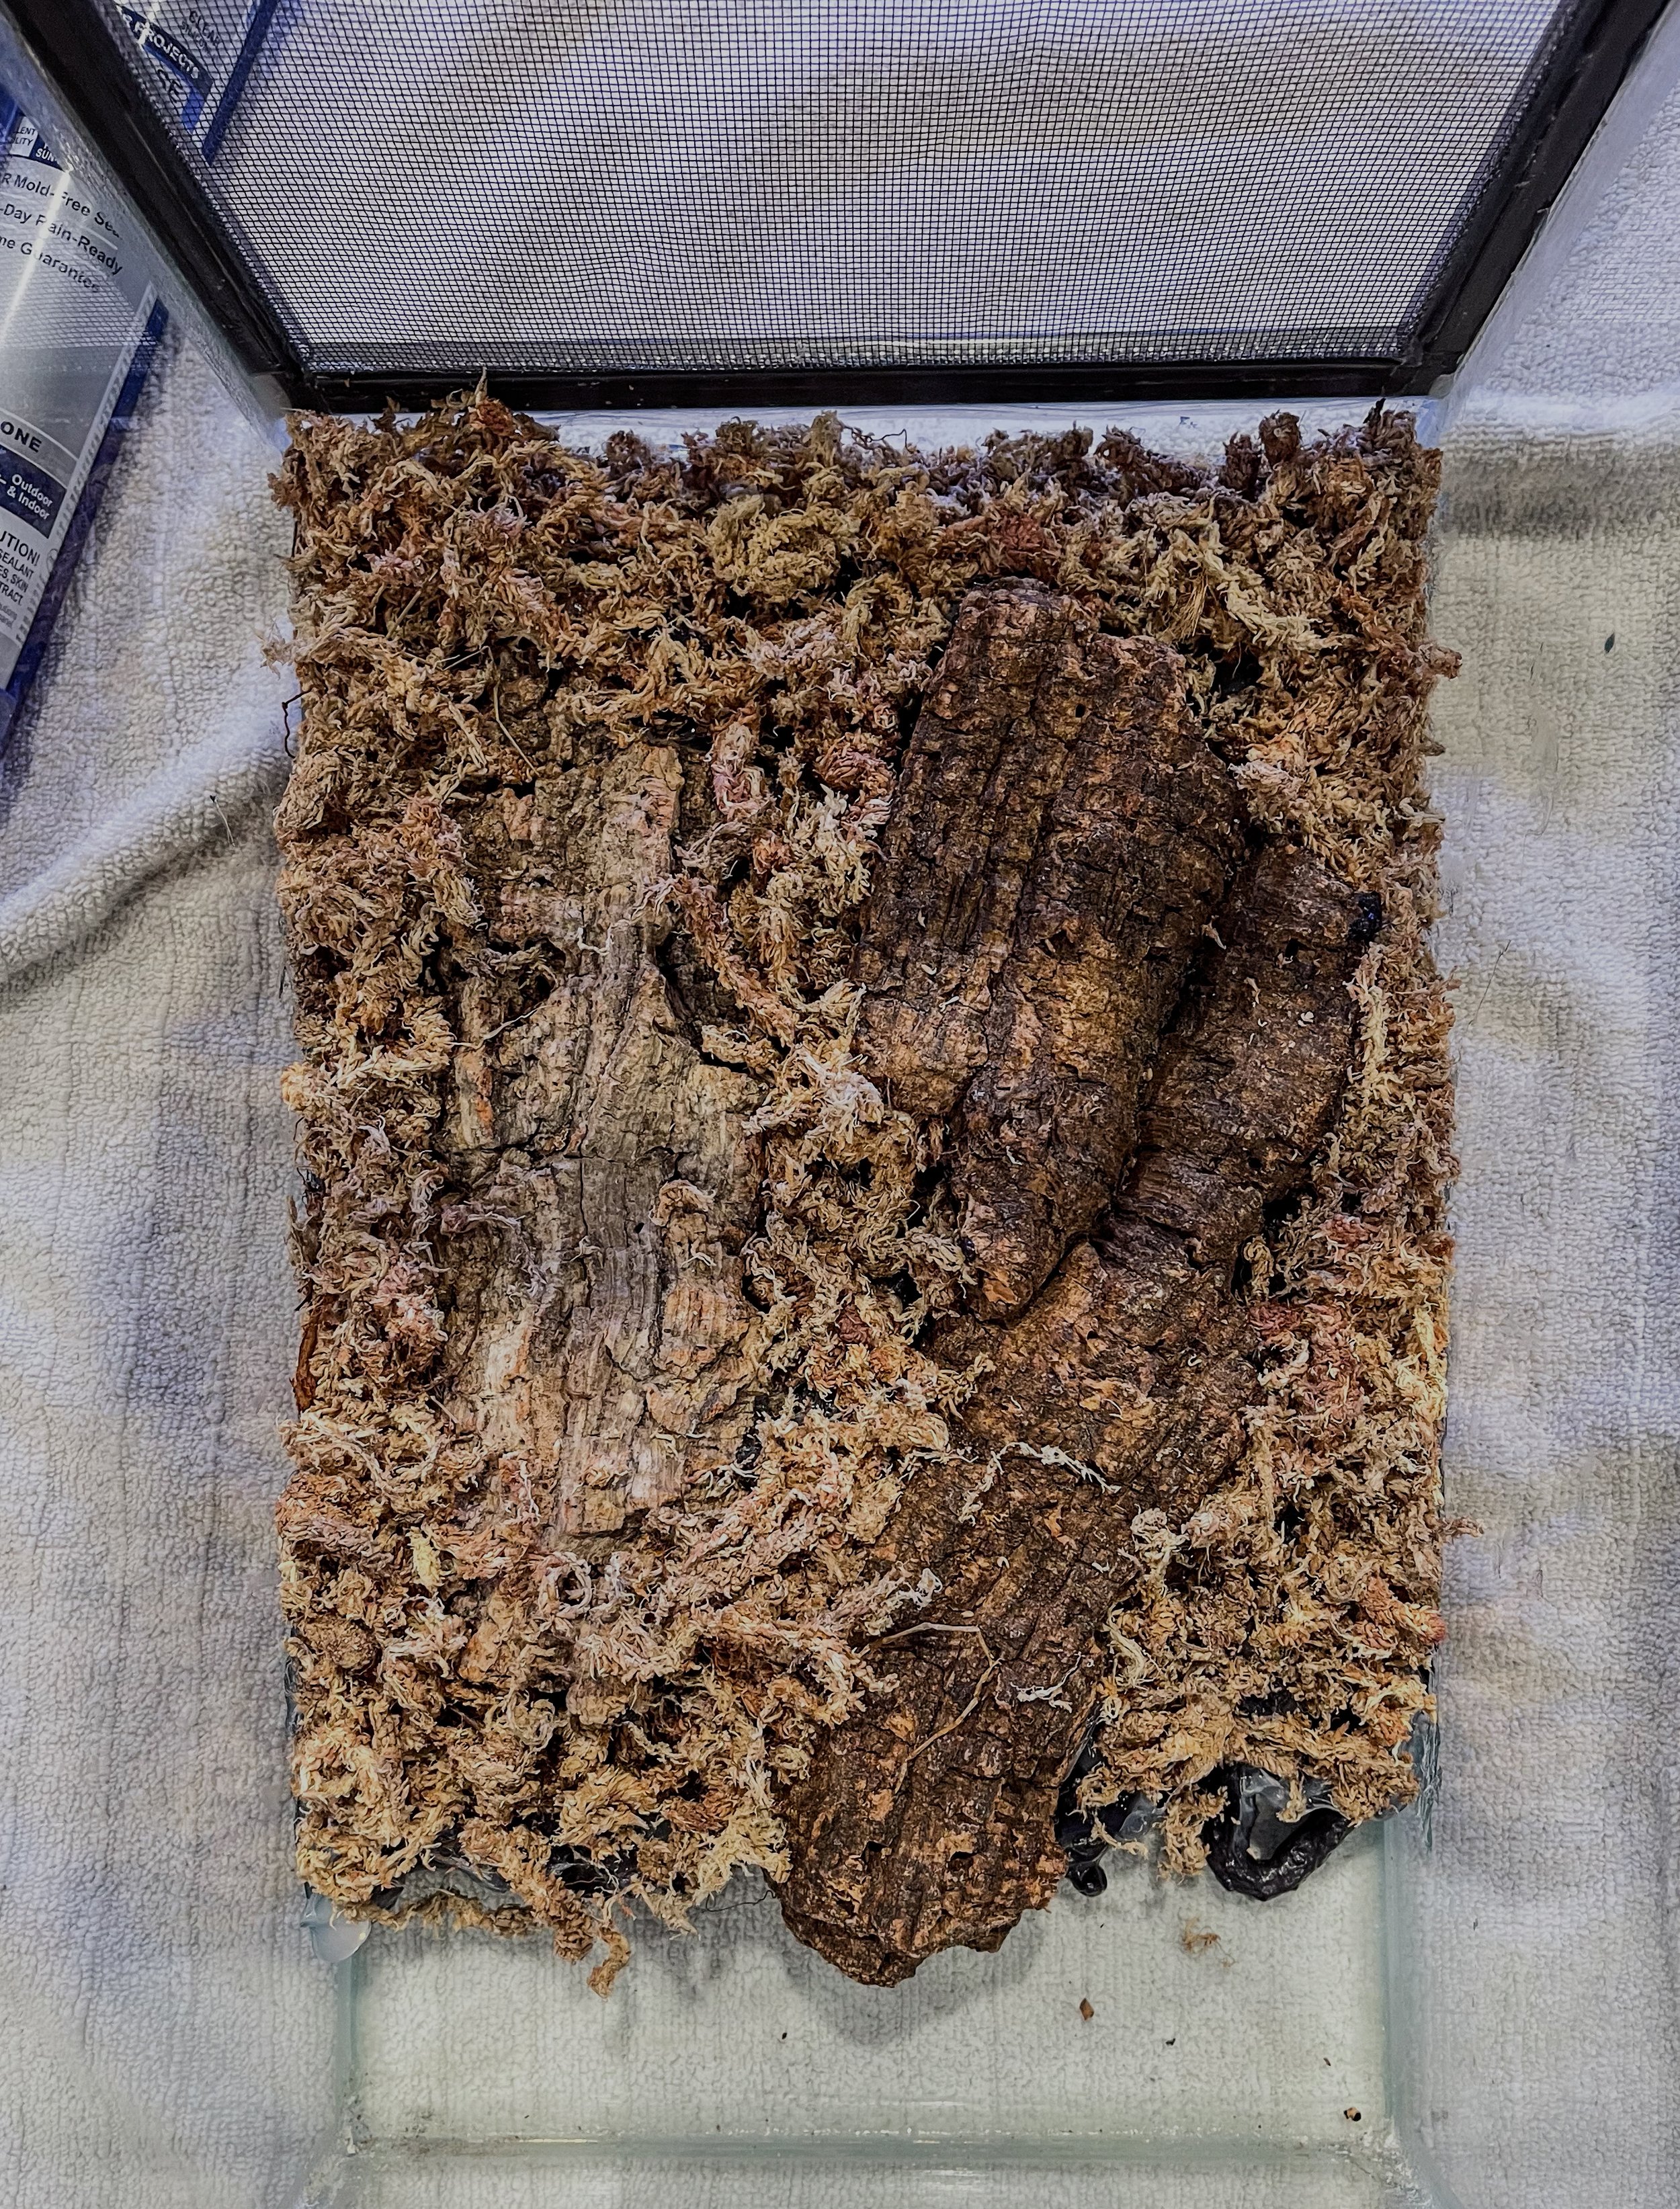
Cover the foam with a generous amount of silicone, using a gloved hand to spread it evenly on the spray foam. Now press in sphagnum and/or peat moss into the spray foam to cover it. I usually do a pretty shitty job covering the background, which is why I like to use black spray foam. Over time, your background will get covered with moss, shingling plants, etc. That’s it! Super easy! Once you no longer smell the vinegary odor of the curing silicone, it time to set up your vivarium!